Enabling Tenant
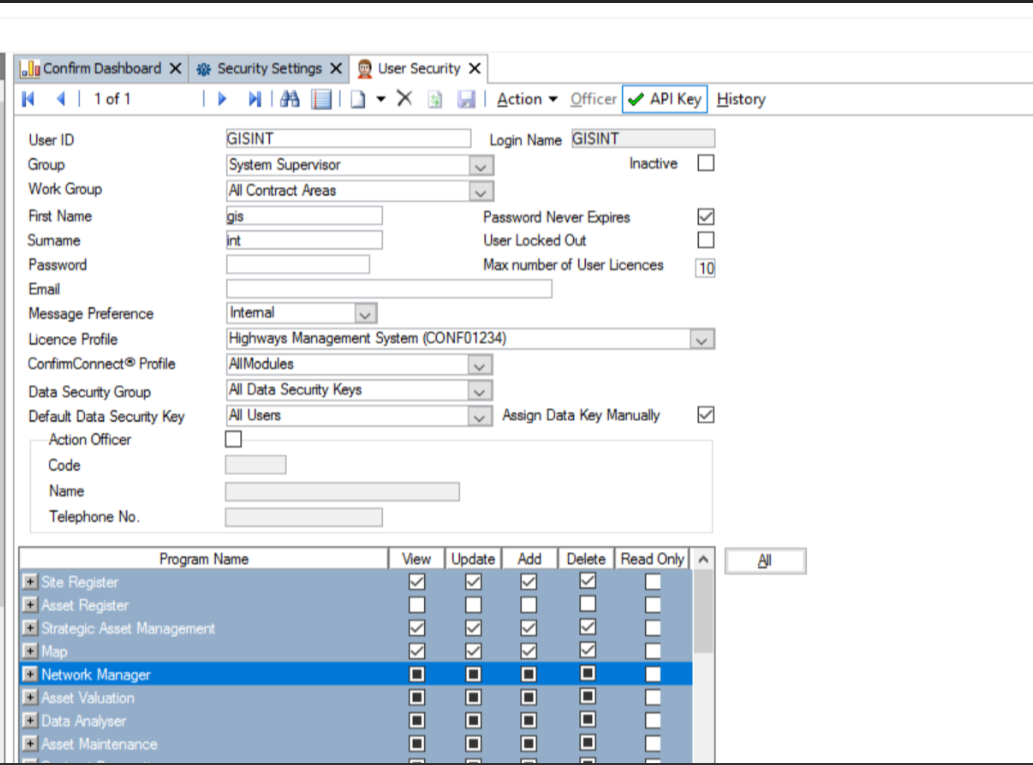
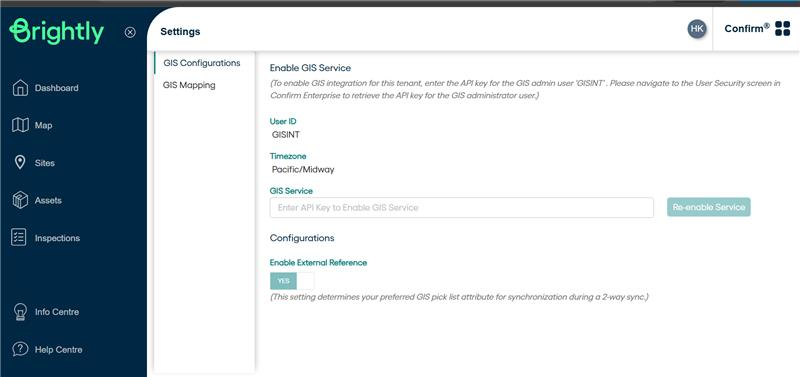
After the account is created, retrieve the API key for the GISINT user, store it securely, and enter it in the “Enable service” field under GIS Configurations in Confirm Web.
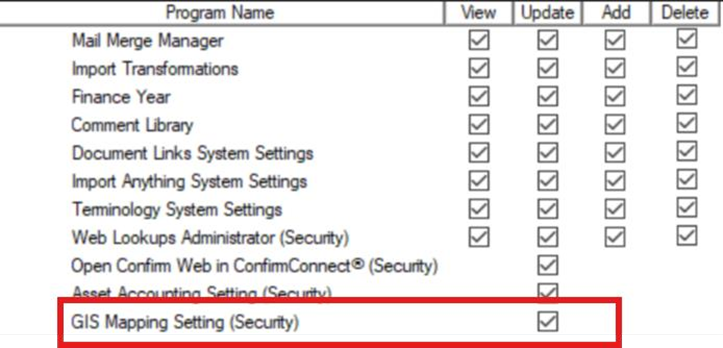
Each user who needs access to GIS 2-Way Integration mappings must have the appropriate permissions. After the tenant is enabled for GIS integration,any individual requiring access to the GIS service must have the(GIS Mapping setting)enabled under Confirm User security screen >>System Administration>>System configuration
Spatial Frontend Main Screen

Adding Connection with ESRI
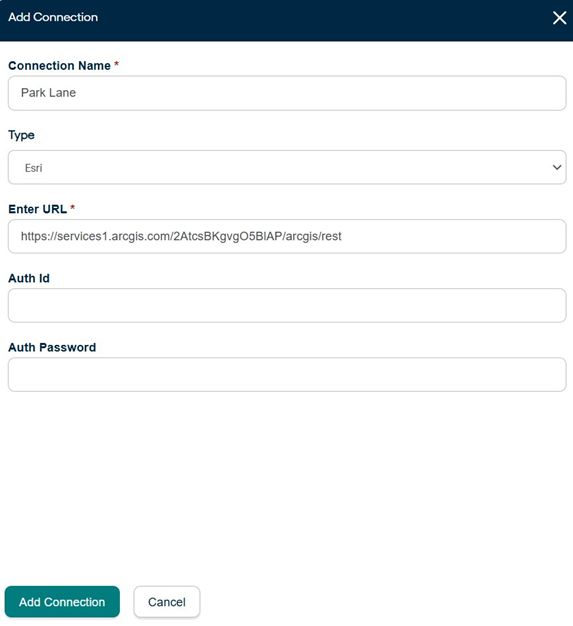
To start with 2-way sync, user will need to create a connection. To do so, they can click on "Add Connection"on top right of the screen.
- Fill in all the fields as per requirement
- Give a connection name
- For connection with ESRI, connection type selected should be esri
- Enter the URL for ArcGIS
- To create authenticated connections, enter username and password
- To create unauthenticated connections, username and password can be skipped
- Finally click on Add Connection present on the bottom of the screen
Once the connection is created, it is available on dashboard like shown below
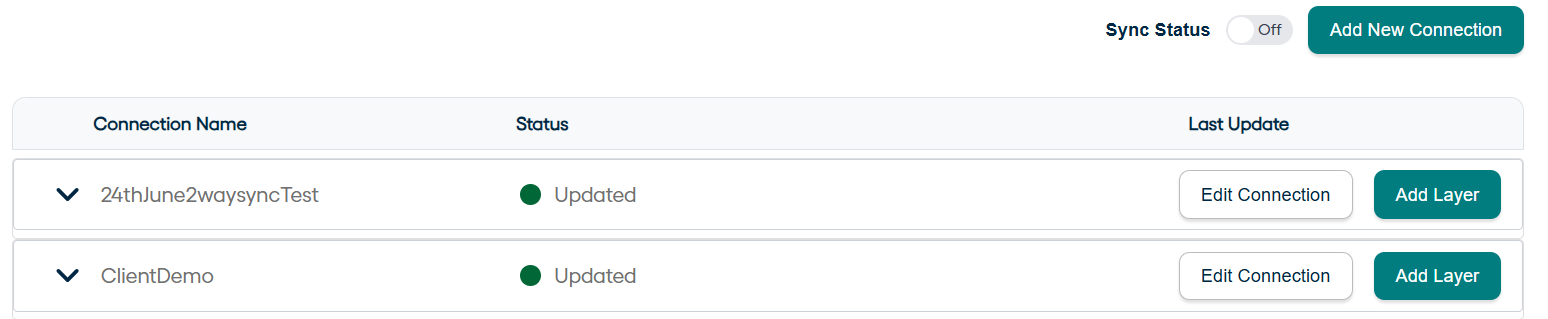
Adding Layers
Adding and Editing Layers is only possible if the sync button is in off state. To start and stop the sync process, we have a sync status on/off button which can be used. e.g below.

So, you will be getting a notice that this is not permitted.

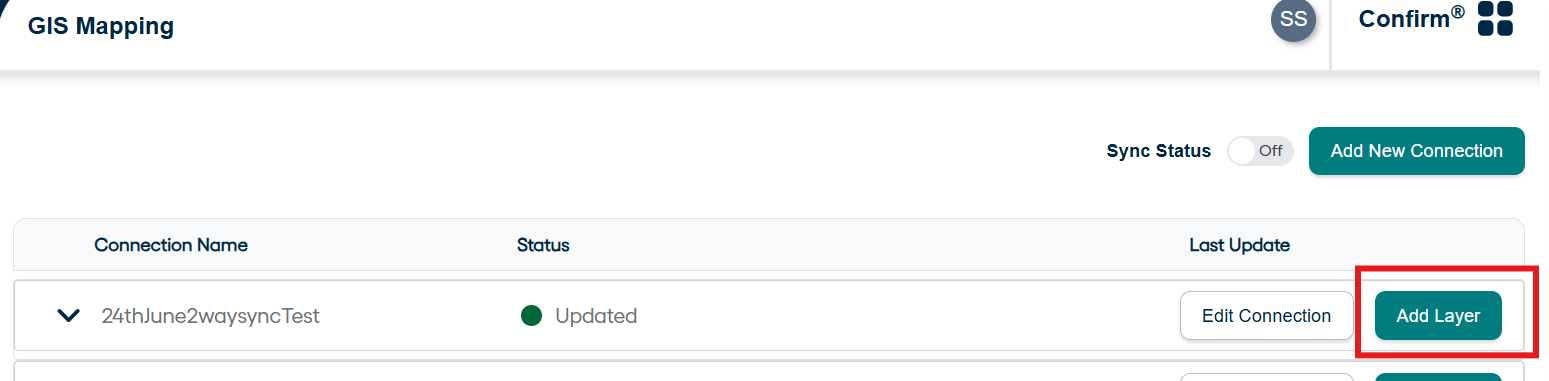
Begin adding layers by clicking on Add Layer button present in the tab for one’s respective connection. In this case, it will be the button in front of Connection_2waysync.
Wait for Supported Layers to load. The supported Layers are populated using the /rest/services endpoint of ESRI. Based on the information provided while creating connection, the respective layers are fetched from ESRI.
User can select any layer from dropdown.
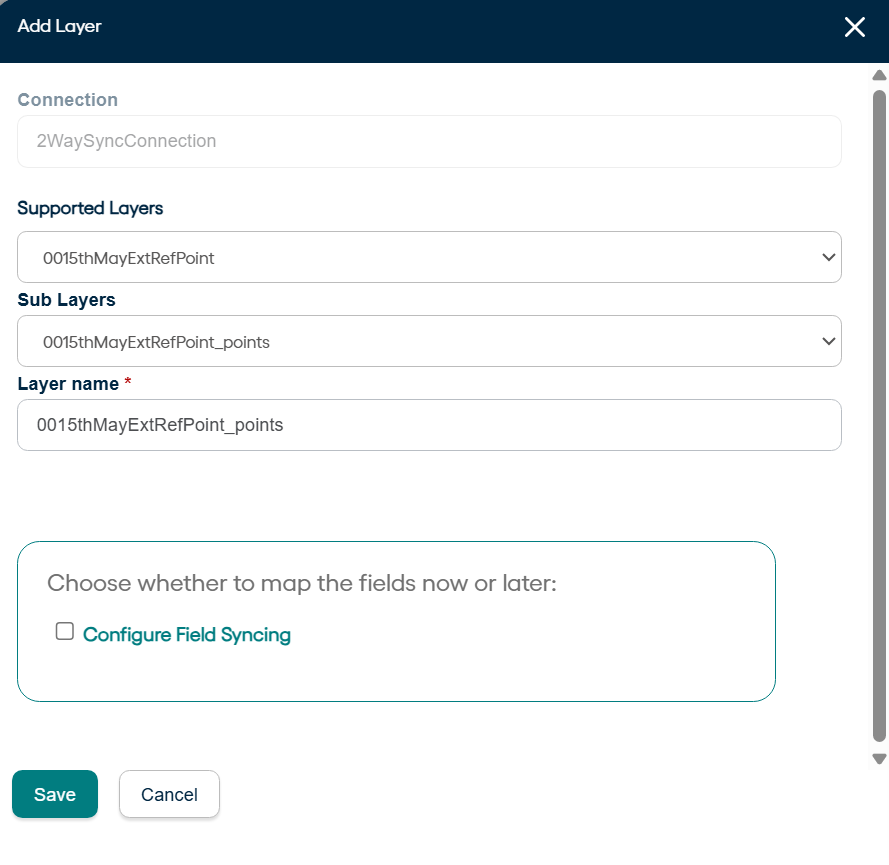
Layer name is populated by default based on the name of supported layers. User can edit the name to suit their needs.
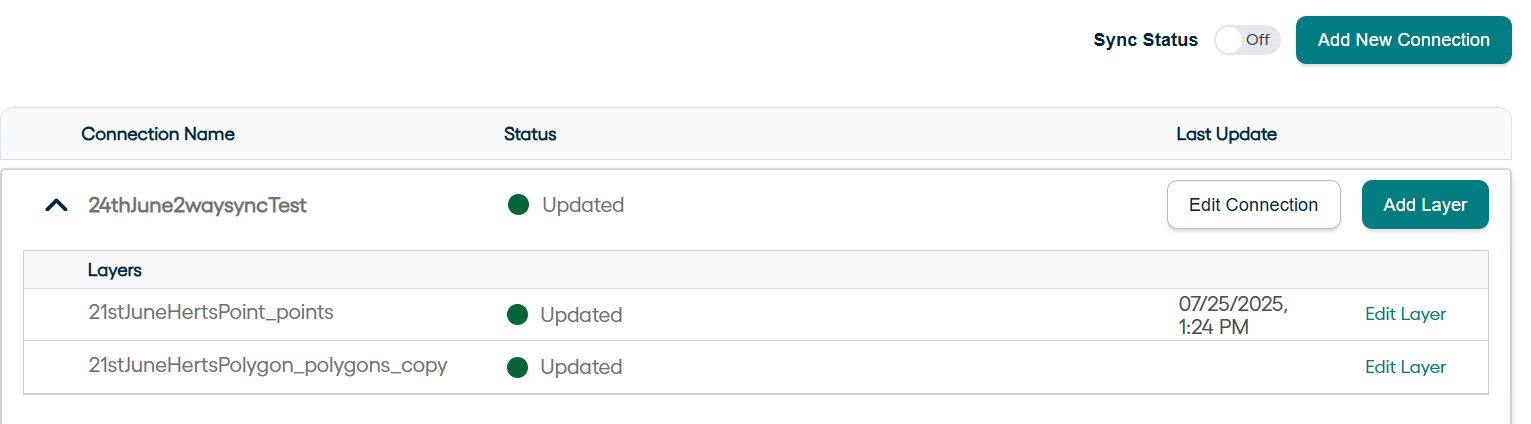
Click on Save after all editing is done. The saved layer can be accessed by clicking on dropdown of connection under which it was created.
Entity Field Mappings
Connection and Layers are created now. The next step for 2-way sync is to do entity field mappings.
User can now click on add Field mappings while adding a Layer or can decide to map fields later while Editing Layer available.Select the Feature Group from the dropdown.

Once the Feature group is selected, entity fields are made available to the user to be selected from dropdown. The mandatory fields are pre-selected and displayed by default.
The user can select only one field at a time from Entity field dropdown. Select a field and click on Add. User can add several entity mappings one by one. Now select the relevant field (from Esri side) in GIS Field column and decide the sync direction.
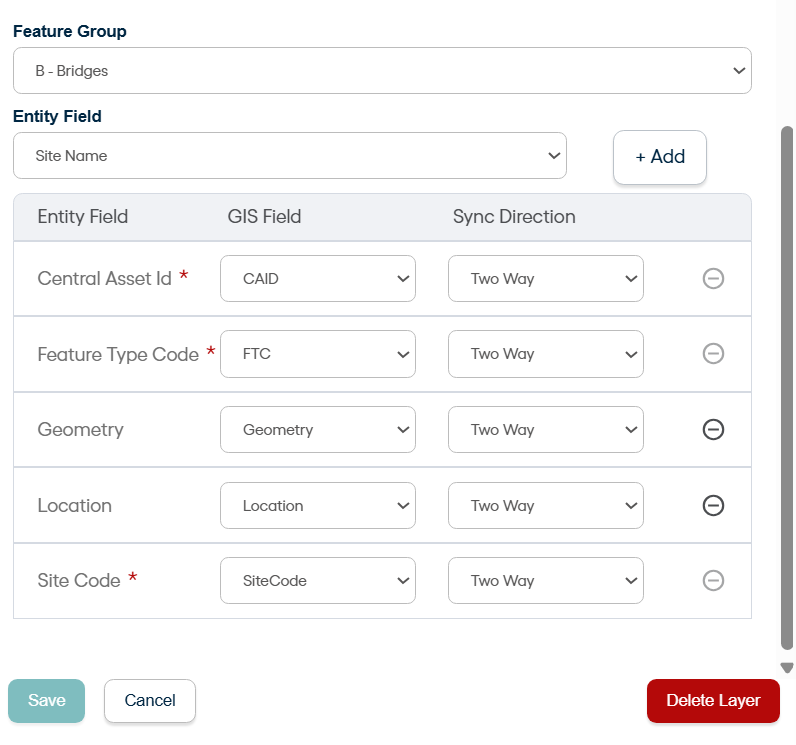
Do it for all the selected fields and click on save. This will trigger the sync in the direction mentioned for each field.